Getting Started
Download & Install
You can download the latest version of Tabs Pro from MyDownloads Section. While you are on that page, you can also check the changelog to see what’s new.
In order to install Tabs Pro module on your DNN website, you can follow the steps below:
-
Begin by Logging into your DNN site with host account;
-
From the Host Menu option select Extensions;
-
On the Extensions module menu, click on Install Extension Wizard button;
-
On the Upload New Extension Package page, click on Choose File button;
-
Select the Tabs Pro package you previously downloaded on your hard drive, then click on Open;
-
Click on Next, accept the license, continue through the install. If all goes well, you will get a list of messages with “EndJob Installation Successful” at the bottom. When all is finished, click on Return button.
And that’s pretty much all about the installation, the next step is to activate the module from production or if you try a demo, you have to unlock the trial for 30 days - these two options can be found as a warning message displayed at the bottom of the module after you add it on a page.
How to set up the Tabs
Add the Tabs Pro module on a page as you would normally do with any other module. Once it gets displayed on the page, locate the management screens (they can be accessed from Module Actions > Manage Tabs option or you can use the Manage Tabs option in full screen).
.jpg)
When you’ll get on the management tabs page, you’ll see there are three sections - one with general settings, other with Advanced settings which is available for Admins only and the section where you can create the tabs. As a small sample of what you can create with Tabs Pro, here’s a final front end result which is detailed below on how you can build it:

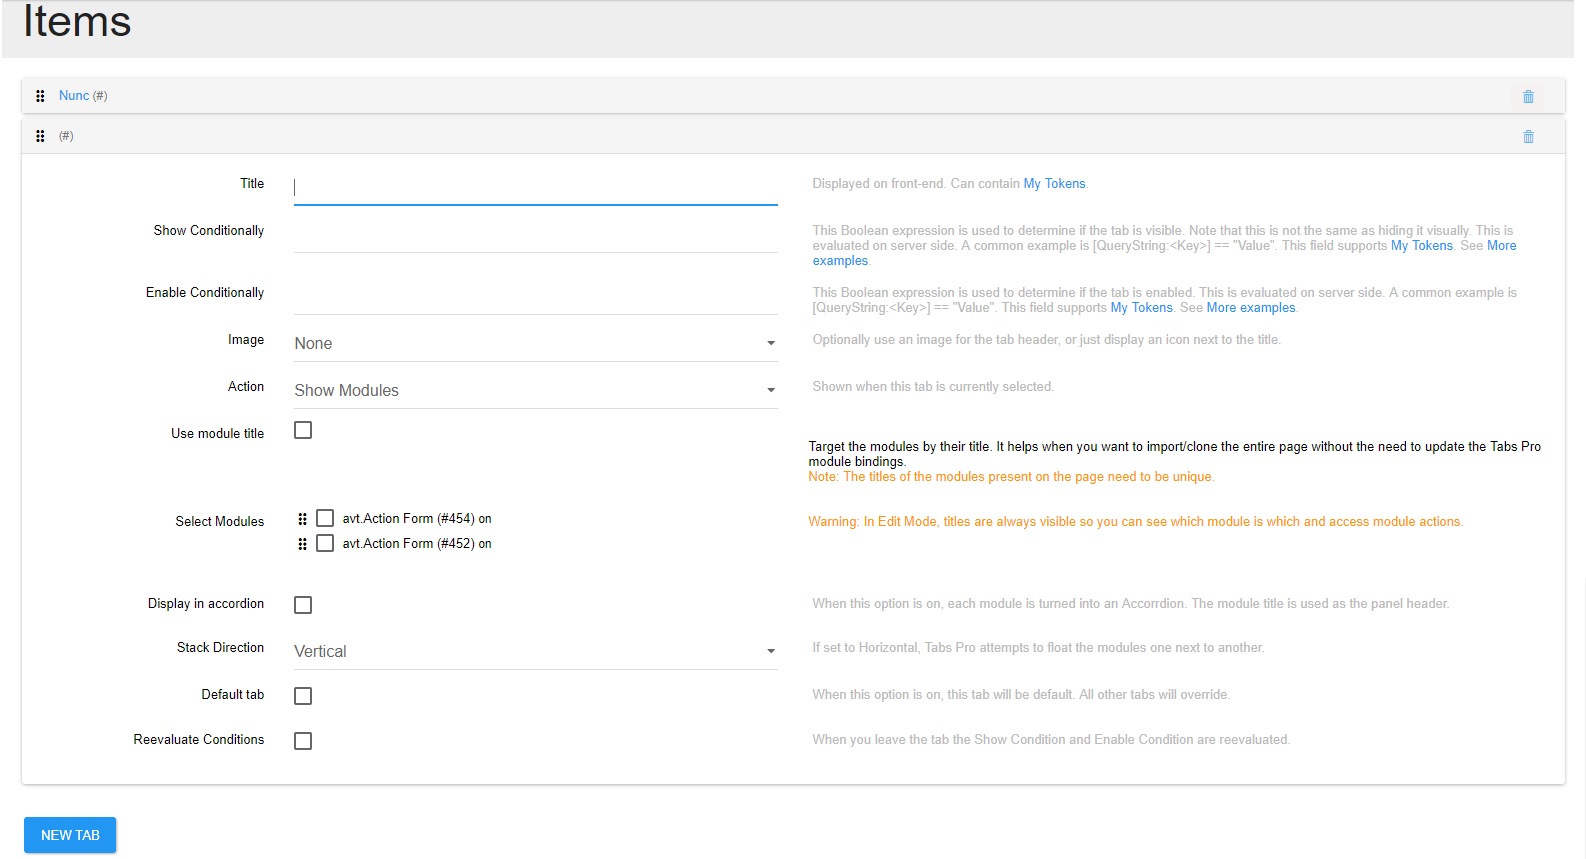
In order to create new tabs, you have to click on the “New Tab” button which, while adding a new item it will enlarge an option list from where you have the possibility to customize each tab according to your needs. There’s also a delete icon displayed on the right side of the tab title. When clicked, the tab becomes highlighted in red and a message will warn you that there’s one tab marked for deletion, and that you have to click on save button in order to completely remove the selected item.
In case you have more than one tab, these options will also be displayed in front of the tabs’ titles. Using them, you can reorder the tabs - up or down or you can drag the tab and drop it on another line. By dragging the modules or the tabs, you can also define the order in which they will be displayed on the front end.
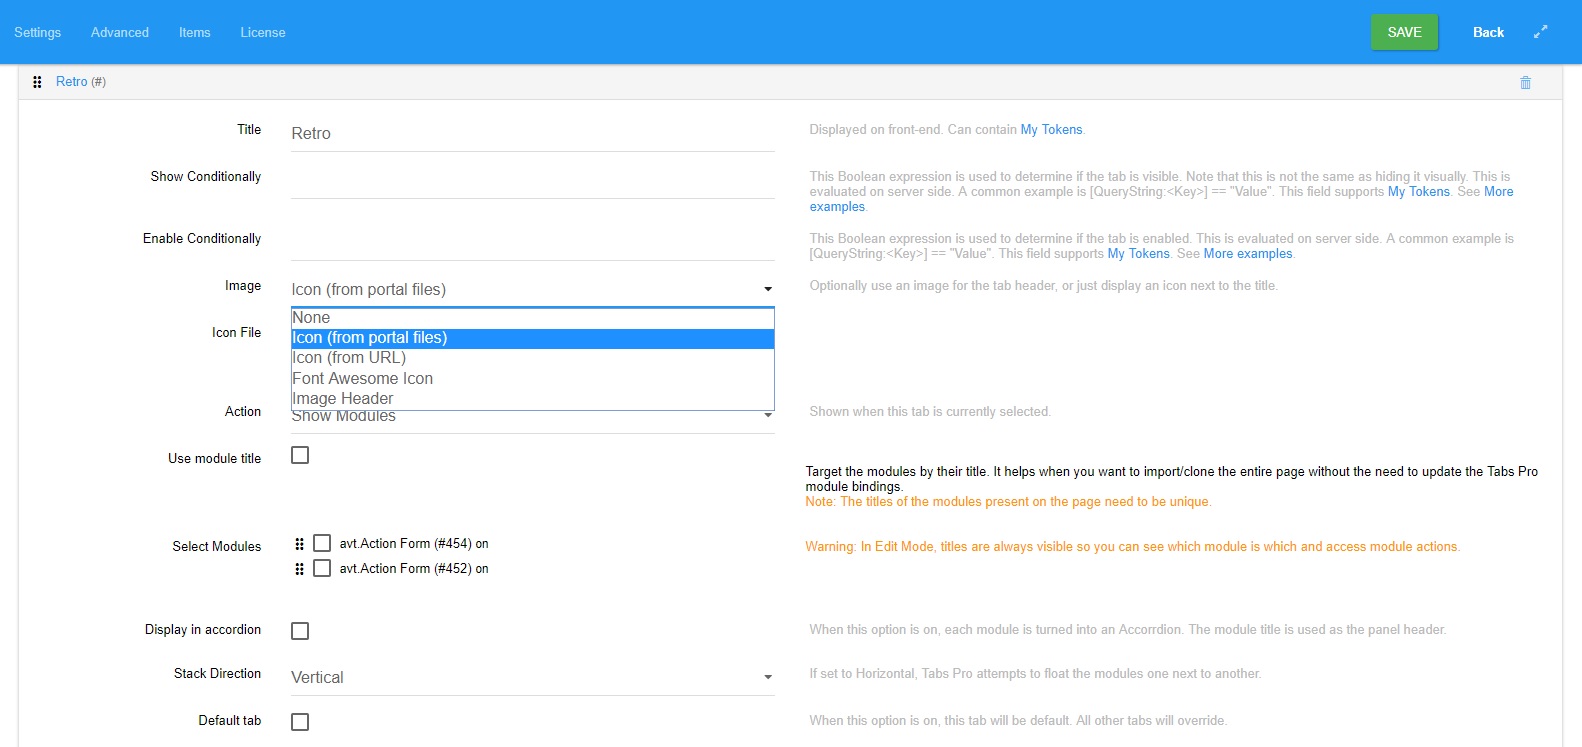
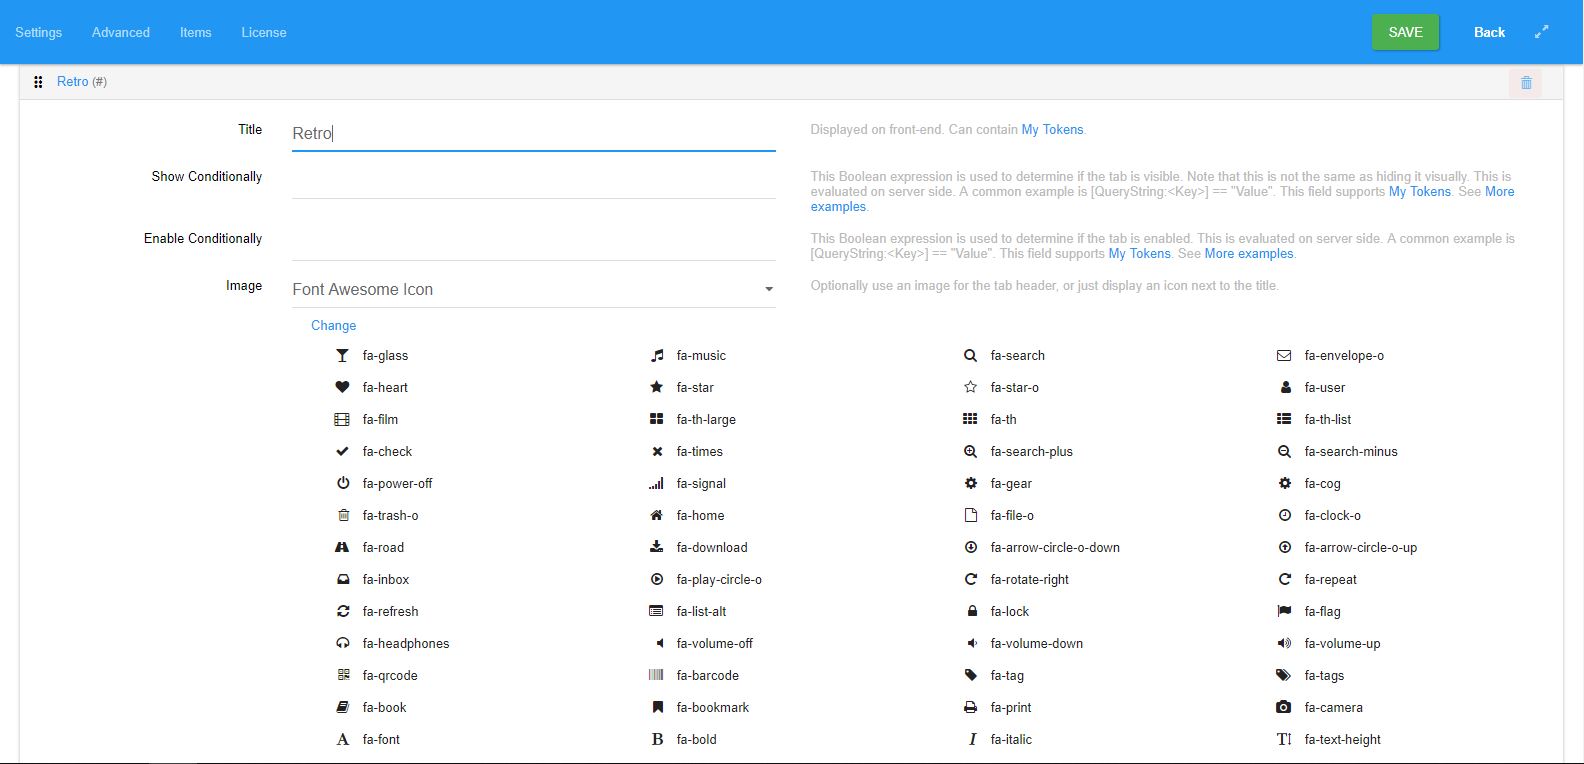
You can create, edit and reorder as many tabs as you need and you add images or icons to the tabs. By using the Image drop down list, you can select the type of image that you want, from icons which are found and uploaded to the portal file, to icons which can be added by using their URL location, to uploading image headers and, the cool Font Awesome Icon option, which was updated to Font Awesome library version 4.6.3.
One tab can contain one or more modules, the condition is to previously add the different modules to the page where you want to enclose them. When multiple modules are displayed in the same tab, an option to display the modules in accordion control is available, allowing to optimize the space on the page.