Campaign Monitor
This extension provides the ability to subscribe to a Campaign Monitor list from Action Form. Typically, this is a Subscribe to Newsletter form (provided as a template in this extension), but you have the ability to use this integration as part of any form - for example as part of registration.
Getting Started
The following steps will guide you on installing and setting up the Campaign Monitor add-on.
Make sure you have at least version 03.02.59 of Action Form.
Once you have Action Form, you can proceed to install the Campaign Monitor extension. Install it from Host > Extensions just as you would do with any other extension.
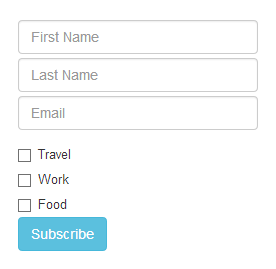
Now that you have installed all these, let’s start adding the Campaign Monitor form. At the end you will have a form to subscribe like the one below (note that you can personalize it just the way you want it or you can just create one from scratch).
-
Select the page where you want to have your Campaign Monitor form.
-
Select in the top menu Modules > Add New Module and add the avt.ActionForm module to your page.
-
Now that you have installed Action Form on your page, select Manage Form.
-
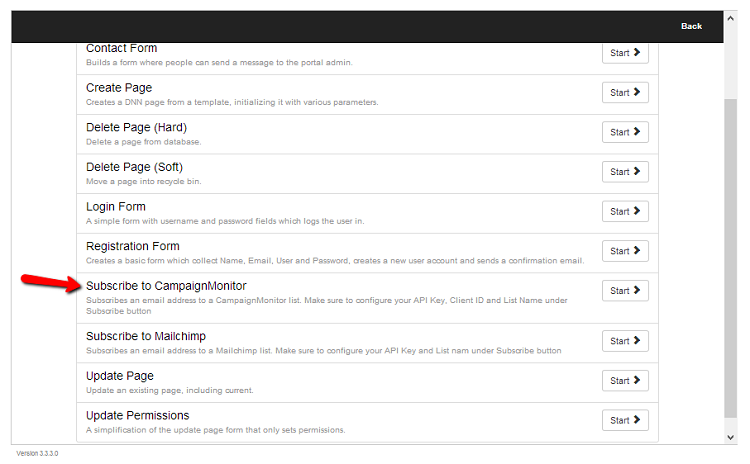
In the start panel chose the Subscribe to CampaignMonitor template. Press the Start button and you will have the form installed on your page. Check the Configuration Options section below to see what needs to be configured before the form is actually functional.
Configuration Options
Before you start building your list, you need to make some settings on the form.
In the Action Form settings panel, go to
-
Interests (field) > Items and fill in your own interests categories.
-
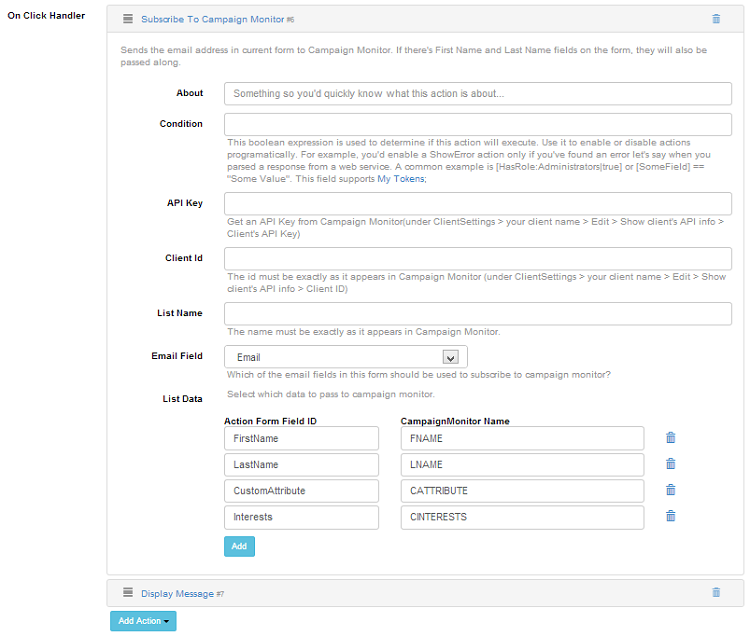
Form Fields > Buttons > Subscribe (button) > On Click Handler (section) > Subscribe To Campaign Monitor (action)
Fill in your Campaign Monitor details:
-
API Key - you can find it under Client Settings > your client name > Edit > Show client’s API info > Client’s API Key.
-
Client Id - must be exactly as it appears in Campaign Monitor under Client Settings > your client name > Edit > Show client’s API info > Client ID.
-
List Name - must be exactly as it appears in Campaign Monitor.
Also check these settings:
-
For the Email Field select the appropriate email field to be used to subscribe to Campaign Monitor.
-
If you decide to personalize the form with your custom fields, make sure to map them with the ones in Campaign Monitor. You can do this in the List Data section. These settings are used to pass correctly all data collected to Campaign Monitor.
After checking all settings, press the Save button and Back. That’s all. Now you’re ready to start building your email list.
This predefined form will display a notification message after he sign up. You can modify it to suits your needs on the On Click Handler > Display message. You can also add and new action to send a notification email to subscriber. You can do this by clicking on the Add Action button > Email > Send Email.